Yeah, we got one, too.
Scrivener & The Book Architecture Method
Please welcome Book Architecture’s guest blogger and award-winning author – Ray Daniel!
Stuart Horwitz’s Book Architecture trilogy, Blueprint your Bestseller, Book Architecture, and Finish Your Book in Three Drafts, delivers a powerful framework for writing a novel.
Scrivener, the software package from the company Literature and Latte, is a powerful software tool that combines word processing with outlining, research storing, and task management to create a single novel-creating platform.
One would think that there would be powerful synergies between a novel-writing software tool, Scrivener, and a novel-writing creation tool, Book Architecture, and one would be correct.
This blog shows one way to use Scrivener to manage the Book Architecture process.
Since it’s easier to work from example, I’ll be using my third Tucker Novel, Child Not Found, and parts of my fourth Tucker Novel, Hacked as examples of a novel built using Book Architecture and written in Scrivener.
The Binder
The binder is the perfect place to begin, because it organizes all the information about your project into a single place. The binder for Child Not Found looks like this:
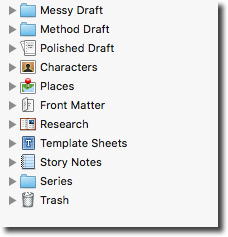
 The first thing to notice is that my binder contains the three drafts Stuart outlines in Finish Your Book in Three Drafts. The messy draft, method draft, and polished draft each have their own folders. I didn’t actually write three drafts of the novel. I generated the material for the novel in the messy draft, and then duplicated the messy draft to create the initial version of the method draft:
Here we see the first place where Scrivener intersects with the Book Architecture method: draft management. Rather than have separate word processing documents for each draft – or even worse, one document that keeps changing – we have a place to store each of our drafts so we can refer to back to previous drafts as we move forward.
As we see here, we copy the messy draft to create the method draft. But where did the messy draft come from? It came from Blueprint Your Bestseller’s Action Step #0.
Step #0: Generate Material
Generating material is the first step in the Book Architecture method. There are many ways to generate material and Blueprint Your Bestseller discusses several of them. One of the most basic ways to generate material is to start at the beginning and simply write the book into a word processor. This results in a long document containing your entire novel.
Organizing Material into Scenes
If you’ve generated material, and need to bring it into Scrivener, you can import and organize your novel into scenes. Blueprint Your Bestseller encourages writers to cut up their scenes as Action Step #5. I suggest, for reasons that we’ll see, that Scrivener users do this as Step #1.
Scrivener makes it easy to cut your scenes. You import your book into Scrivener (perhaps with copy and paste) and then use the Split at Selection command to split the document into two documents:

You place your cursor between two scenes and use the right mouse button to split the scene at the selection. This gives you two scenes that you can name. You keep working your way down your document until you’ve “cut up” all your scenes.
Generating Material in Scenes
While Scrivener makes it easy to split a novel into scenes, I recommend a different approach: generating material scene by scene. That is, you create a separate document for each scene and allow Scrivener to compile it all into a book. You can set Scrivener to compile your scenes however you like.
My books have one scene per chapter, so the compilation process is simple. But you can use folders to combine several scenes into a chapter and several chapters into parts.
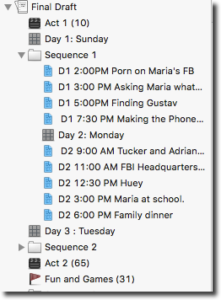
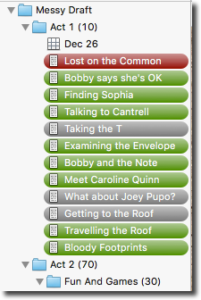
Generating material scene by scene in Scrivener has the obvious advantage that you don’t need to split your manuscript into scenes later on. It has additional advantages in that it is satisfying to finish a scene and move on to the next one, and that you can use icons in the binder to add orienting material to your manuscript such as acts, beats, sequences, and days. For example here are the scenes that make up my most recent Tucker book, Hacked.
Analyzing Your Scenes
The first five steps of Blueprint Your Bestseller help you analyze your scenes:
- Brainstorm Your Scenes—Make a list of your scenes from memory.
- Your Good Scenes—Highlight the good scenes, those that are done for now.
- Your Bad Scenes—Highlight the bad scenes, ones that need work.
- Your Forgotten Scenes—Note the ones that skipped your mind.
- Cut Up Your . . . we already did this.
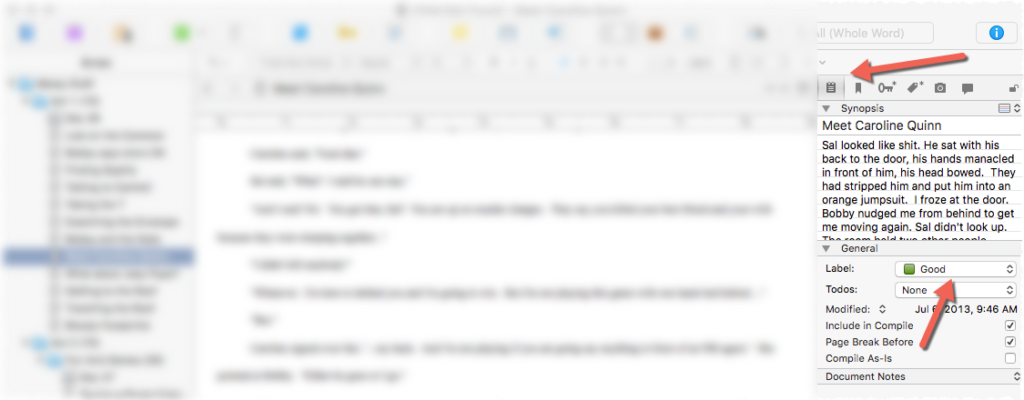
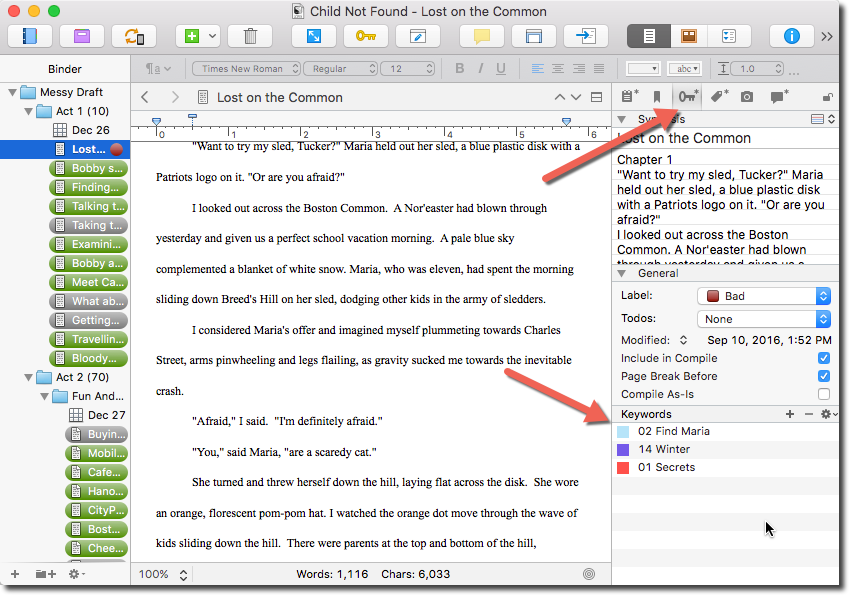
You can do all this with Scrivener’s Label feature. Each scene has a programmable Label field which you can see in the Inspector on the right side of the window:
You can program the label with the words Good, Bad, Forgotten, and even Putrid (If you want to go beyond Book Architecture’s recommendations.)
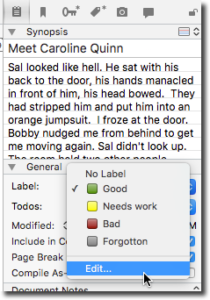
When you edit the labels you can add colors by clicking on the colored dot next to each label.
Now that you have colors on each of your labels you can use them to examine your scenes.
To color code your scenes, select:
View -> Use Label Color In -> Binder.
Hmm. Lots of green. Not so bad.
Working with Series
Action steps #6-#10 from Blueprint Your Bestseller all relate to finding the series in your story and attaching them to scenes. Then you look for key scenes where several series intersect, find the theme of the book, and consciously choose how to present the series in terms of frequency and rhythm.
The Scrivener keyword feature is perfect for managing series in Scrivener.
Creating a List of Series
The first thing we do is create a list of series using keywords. We see the project keywords using the Project -> Show Project Keywords pulldown menu. This gives us a list of keywords and we use it to capture our series:
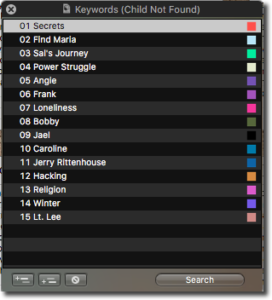
The little plus-sign icon in the lower left allows you to add series. You can double click on the colored squares on the right to give each series its own color. You are now ready to add your series to your scenes.
Adding Series to a Scene
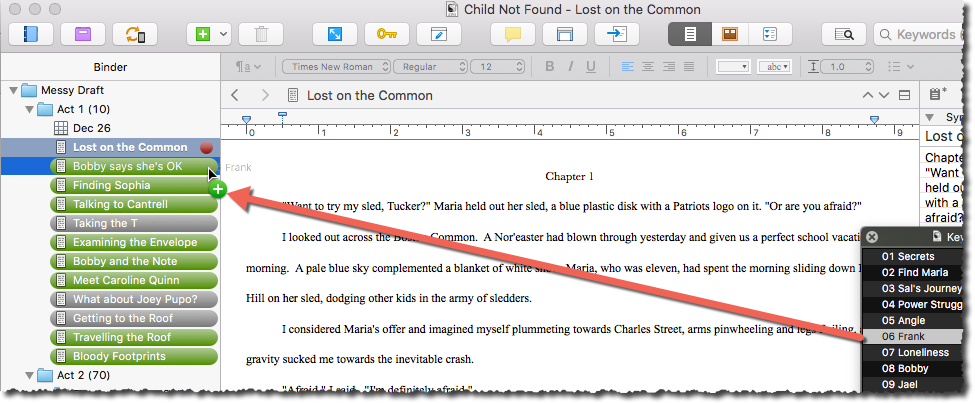
Each scene should deliver at least one iteration of a series. At this point we go through all our scenes and add series to them. The easiest way to do this is to drag the series (keywords) from the Keywords window above into the scene title in the binder window:
You can see the list of series associated with a given scene using the Keyword panel in the inspector:
Once you have all the series associated with the scenes you can easily see how your book handles the series.
Searching for Series
The easiest way to analyze your series is to ask the question “Which of my scenes relate to a given series?” For example, let’s examine the places where the series “secrets” came up in Child Not Found’s messy draft.
First we tell Scrivener that we want to search for keywords: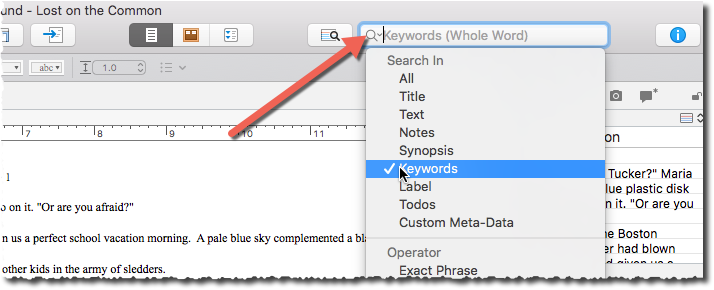
Next we do the search and look at the binder:
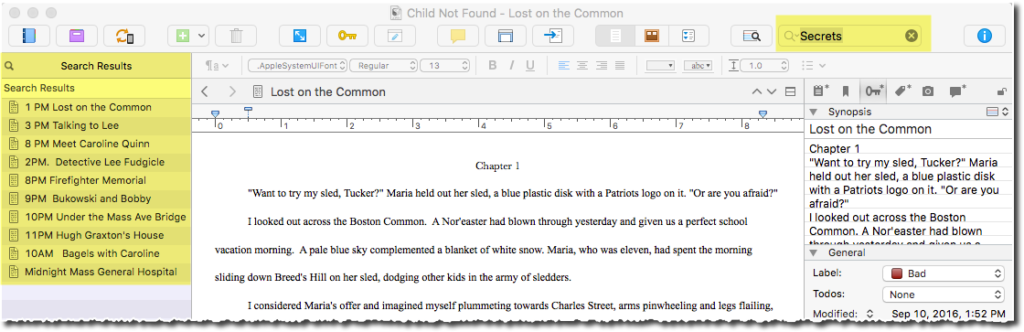
We see that we have ten scenes that deal with secrets.
Series on the Corkboard
Scrivener lets you view a collection of scenes as index cards on a corkboard. You can add colors from your series by selecting the View -> Corkboard Options -> Show Keyword Colors menu item. This view helps you find key scenes:
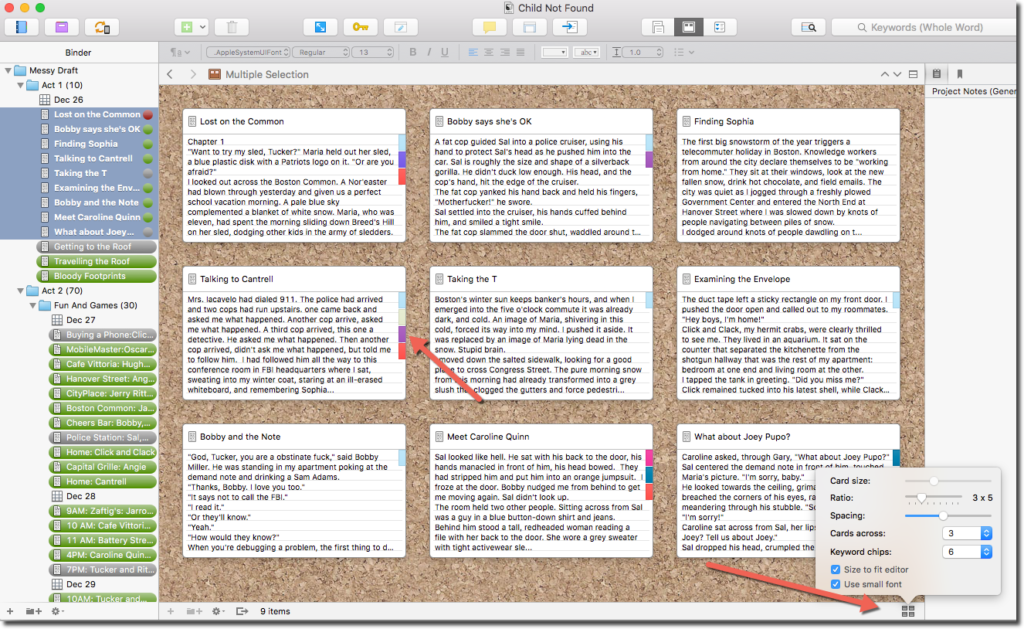
The card display button in the lower right hand corner lets you control the number of series colors that appear on each card.
Series in the Outliner
You can also view sets of scenes in the outliner and view their series (keywords) using the outliner’s column selector like this:
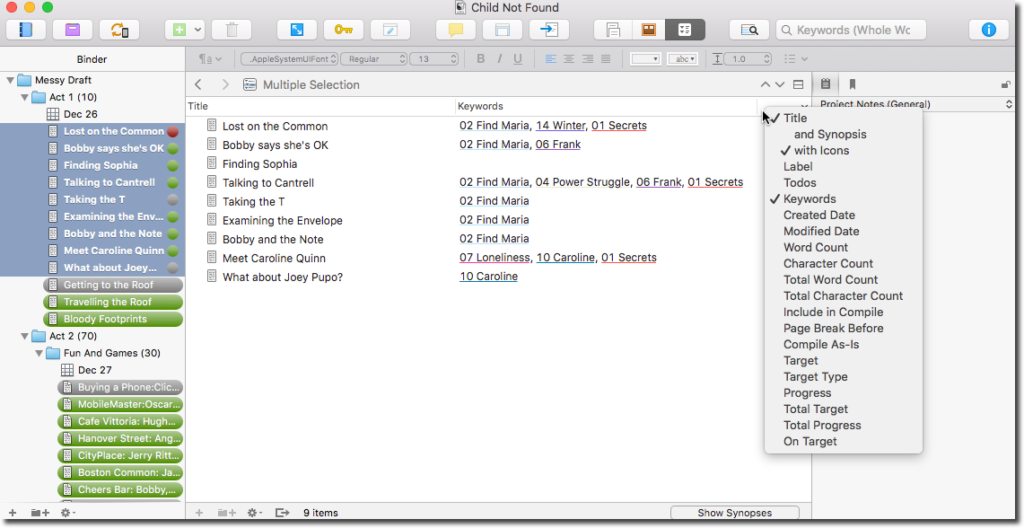
You access the column selector by using the right mouse button on the column title area at the top of the list. (By the way, Scrivener does not require numbers on the keywords. I added the numbers myself as part of my process for sorting analyzing scenes.)
Using Scrivener for the Rest of the Process
At this point Scrivener has helped us cut up our scenes, label them as good, bad, or forgotten, and assign series to them. At this point we can proceed using typical Scrivener features.
Finding the Theme
Blueprint Your Bestseller action steps #7-11 have to do with finding your theme. You’ve named your series in the keywords, but the other steps of describing the series, listing the series sentences, and “finding your one thing”, are best done in a spare document in the Story Notes section in the binder.
Drawing the Target
There is no “Draw the Target” function in Scrivener. You can do this with a big poster board and post it notes. Software tool geek that I am, I use Literature and Latte’s tool Scapple to create my target. Once you’ve completed your target exercise you can store the result in Scrivener’s Story Notes section either by taking a picture of it or (if using Scapple) dragging and dropping it.
Ordering Your Scenes
Stuart Horwitz says that a novel is 99 scenes arranged in the correct order. Now that you’ve fully analyzed your novel with help from Scrivener, you duplicate your messy draft to create a method draft and then rearrange and rewrite the scenes. You’ve now got 99 (or whatever number) scenes in the correct order. So you duplicate your method draft to create a polished draft and you’re all set.

Ray Daniel is the award-winning author of Boston-based crime fiction and is the author of the Tucker Mysteries. His short stories “Give Me a Dollar” won a 2014 Derringer Award for short fiction and “Driving Miss Rachel” was chosen as a 2013 distinguished short story by Otto Penzler, editor of The Best American Mystery Stories 2013. CHILD NOT FOUND is the third novel in the Tucker Mysteries. For more information, visit him online at raydanielmystery.com and follow him on twitter @raydanielmystry.
Leave a Reply